I wanted to test setting up Grid/ASM Oracle Restart on Windows, below is a PoC for that activity
Oracle ASM can have performance benefits over traditional NTFS some quotes from an old open world presentation

“If you intend to use Oracle Automatic Storage Management (Oracle ASM), then you must install Oracle Restart before installing your database”
We will use the below 12 step plan to complete this activity
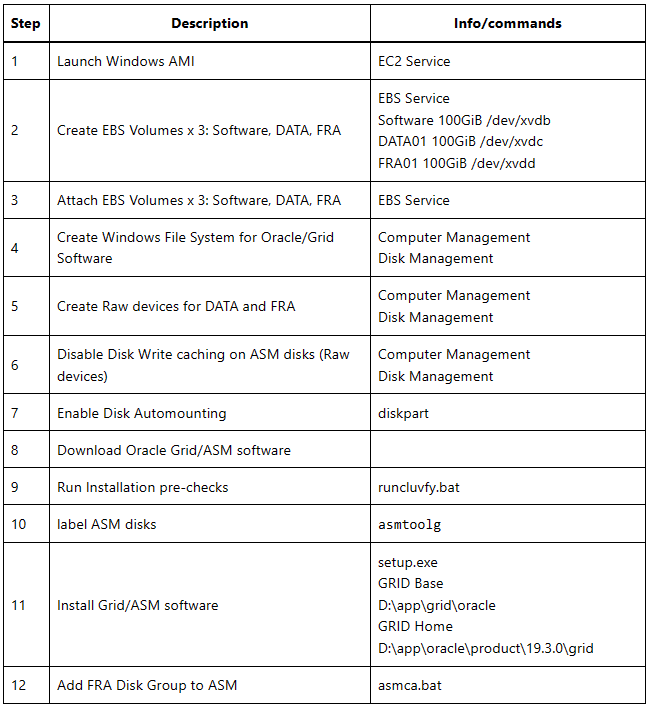
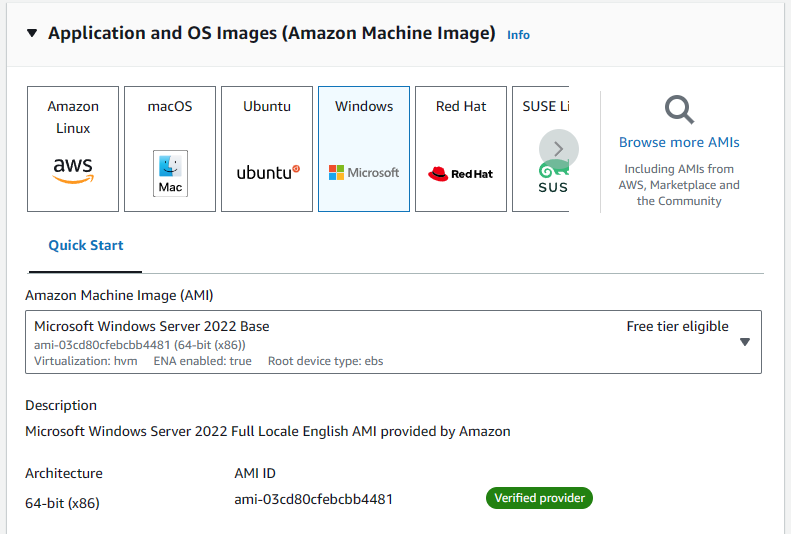
1. Launch Windows AMI
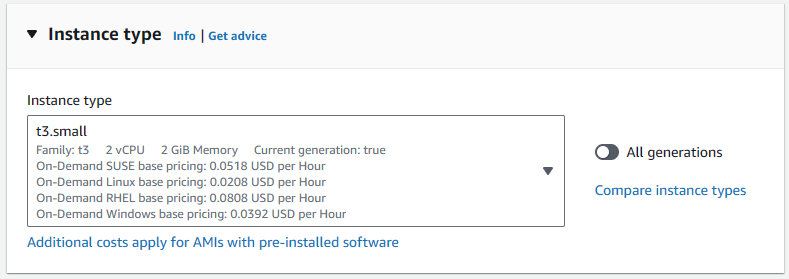
You can tailor the AMI build as needed based on your requirements, not that ASM itself requires1GiB for Instance, Installer checks for 8Gb, though can choose to ignore this for testing. A simple example is shown below:

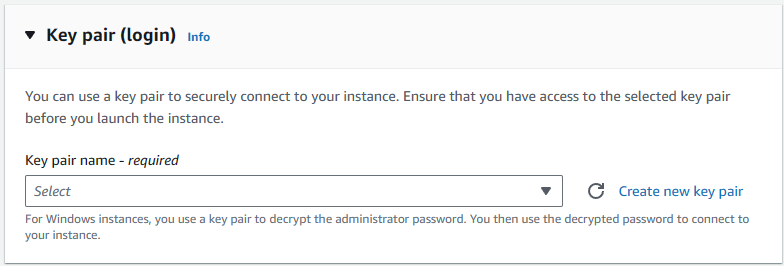
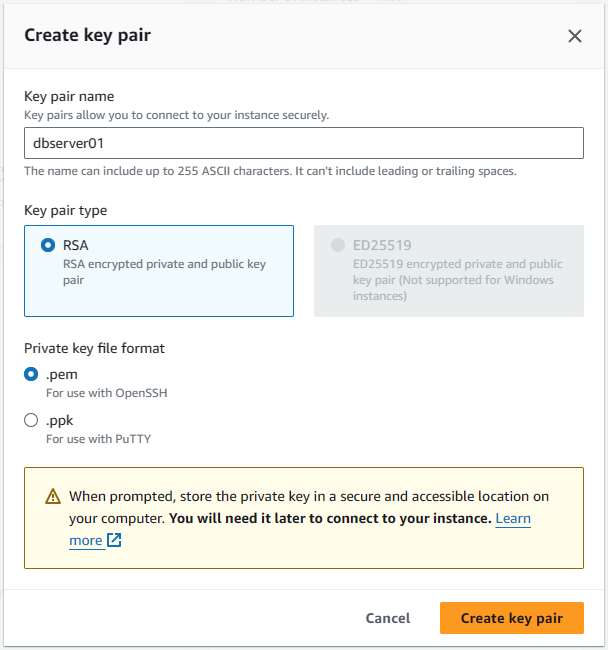
Choose to Create a new key pair, this will be used to authenticate later
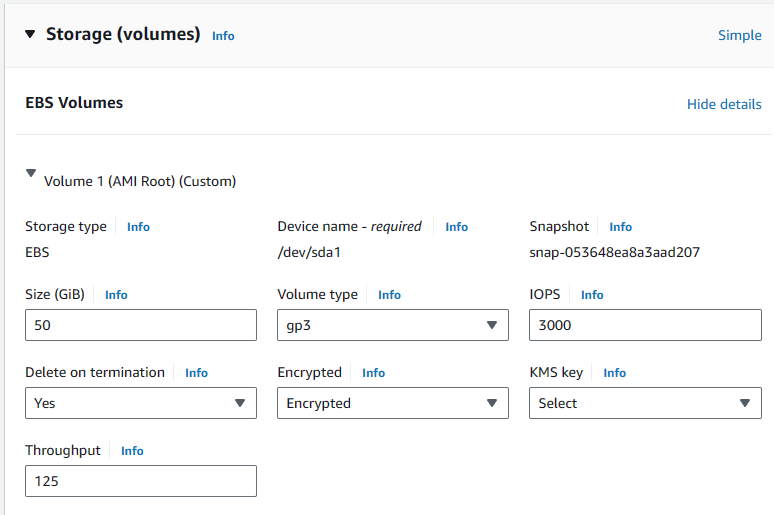
If we choose Advanced, we can customise the volume with options like encryption and gp3
Make a note of the EC2 Instance ID, as this will be needed when attaching EBS volumes.
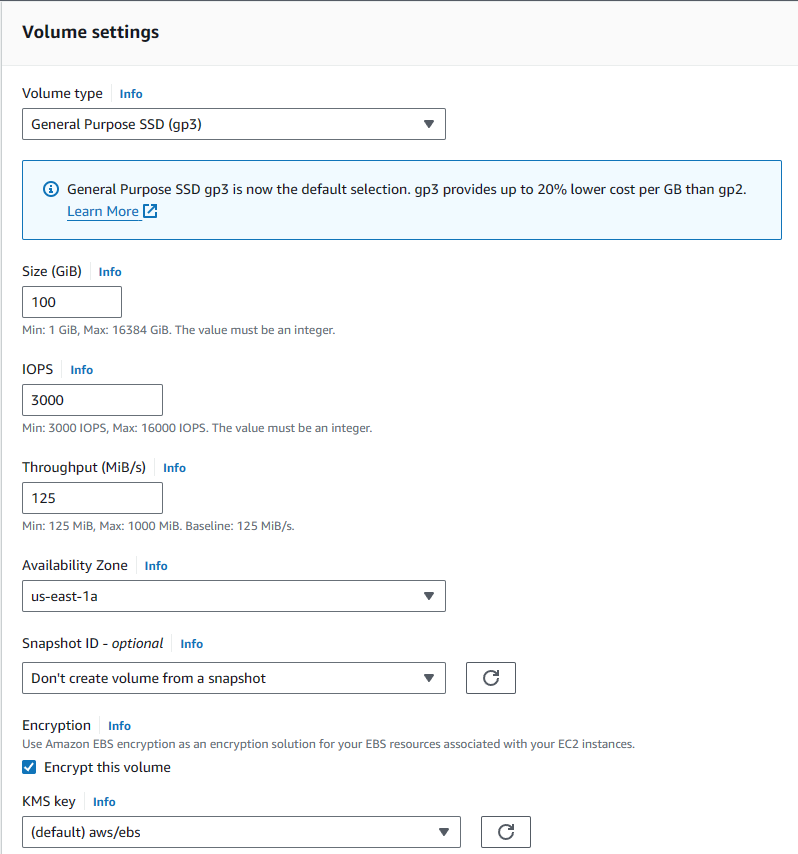
2. Create EBS Volumes x 3: Software, DATA, FRA
Repeat below step for each volume we intend to add, so 3 times
- Oracle Software
- DATA01
- FRA01
Remember to create the volumes in the same Region as the the EC2 instance above
Optionally choose to encrypt depending on requirements.
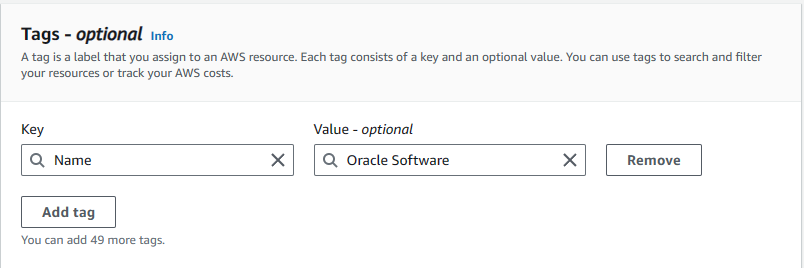
Specify Name tags for each Volume so we can easily identify them as well:
3. Attach EBS Volumes x 3: Software, DATA, FRA
The 3 newly created volumes should be shown as Available as below:

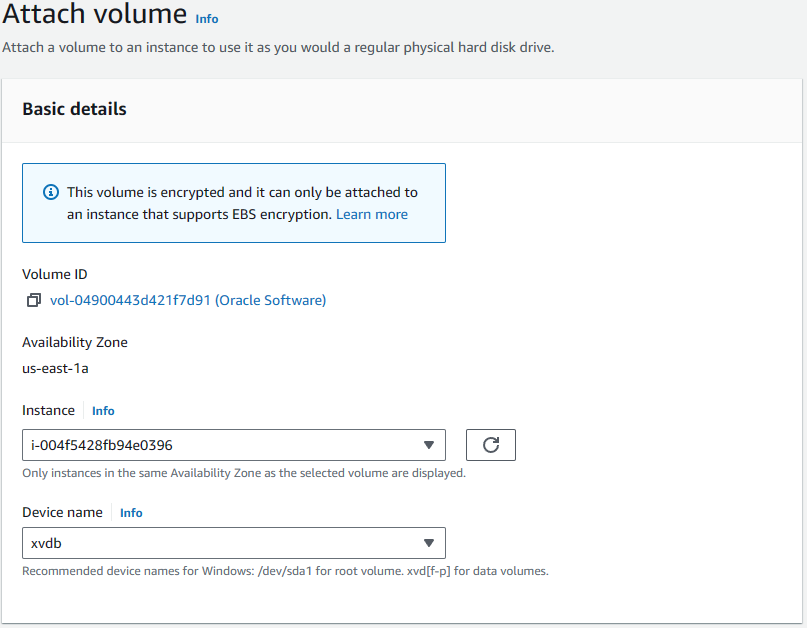
To attach them simply select each volumes checkbox -> Actions-> Attach volume

Select the Windows EC2 instance ID, and device name, then click attach.
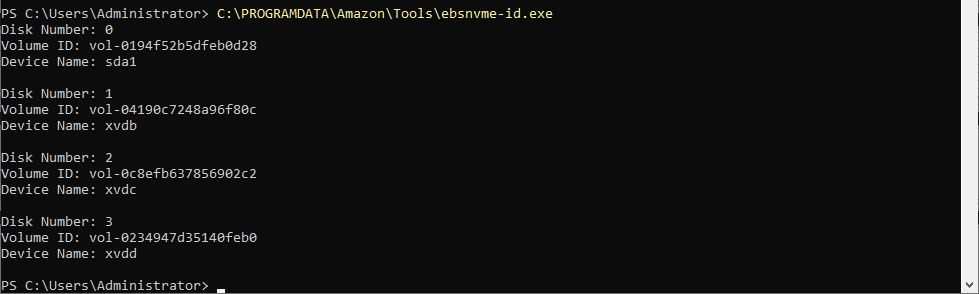
Once we create the disks its important we know which EBS volume reflects which windows disk, we can do this using the below methods.
We can see which EBS volume is assigned to which Disk on Windows using powershell command ‘Get-Disk’ OR C:\PROGRAMDATA\Amazon\Tools\ebsnvme-id.exe
GET-Disk

C:\PROGRAMDATA\Amazon\Tools\ebsnvme-id.exe
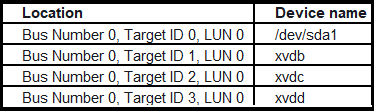
Also the Windows disk mapping should follow the below properties for EBS to Window location.
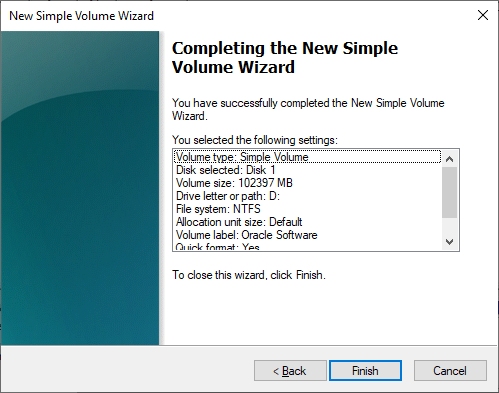
4. Create Windows File System for Software
Windows Menu-> Computer Management-> Storage: Disk Management

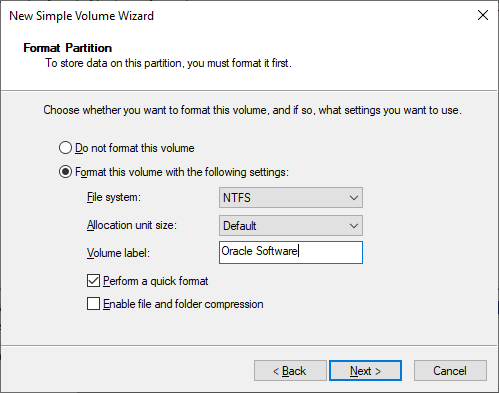
Create GRID HOME filesystem this will be formatted using Windows

Only select the Disk we are using for GRID HOME, Disk 1 in our case.
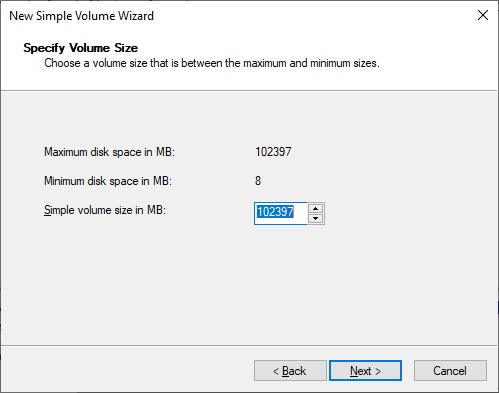
Now select that disk, right click and New Simple Volume


5. Create Raw devices for DATA and FRA

Note* Do not use spanned volumes or striped volumes. These options convert the volume to a dynamic disk. Oracle Automatic Storage Management does not support dynamic disks.
- Start menu, select Administrative Tools, then Computer Management
- select the Disk Management
- right click Unallocated volume
- Select New Simple Volume…
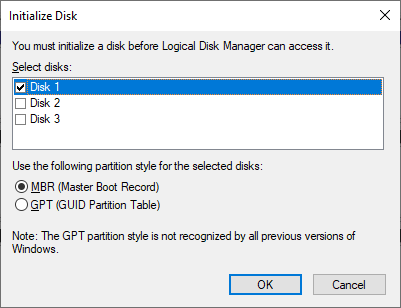
Use a basic disk with a Master Boot Record (MBR) partition style as an extended partition for creating partitions.

We can initialise both our ASM EBS disks Disk2 and Disk 3 in this operation
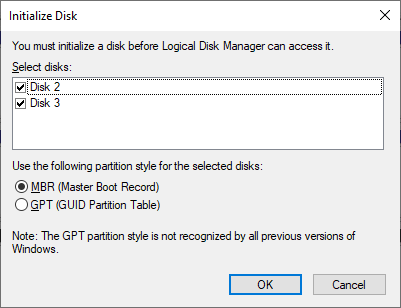
Select Disk 2, right click and ‘New Simple Volume’


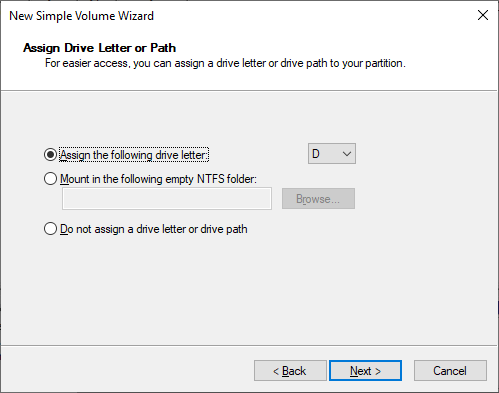
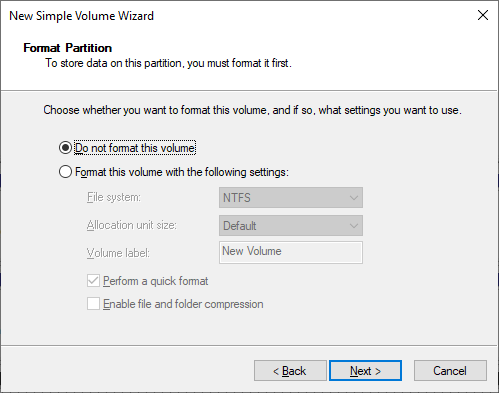
Do not assign a drive letter or drive path

Do not format this volume
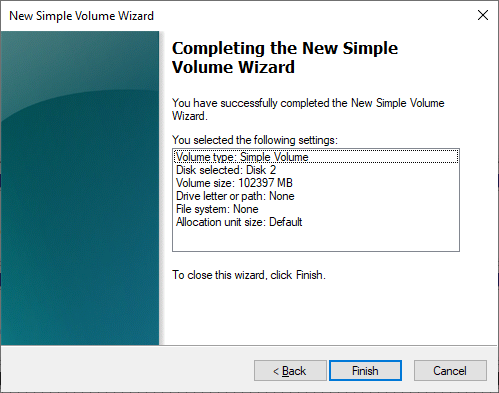
Repeat this step to format the second ASM Disk and we should now have 2 x RAW disks as below

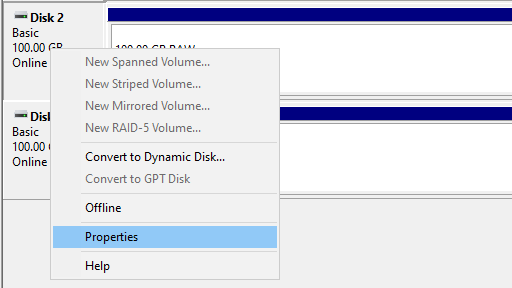
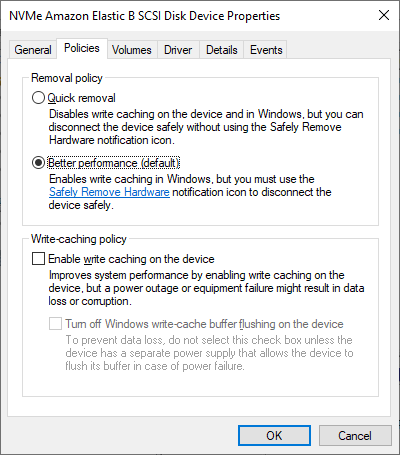
6. Disable Disk Write caching on ASM disks
Note:Any disks that you use to store files, including database files, that will be shared between nodes, must have write caching disabled.
Right click each of the RAW disks Icon, choose ‘Properties’
It may already be disabled, but if not uncheck this option.
7. Enable Disk Automounting
Start a windows command prompt then type below
diskpart
automount enable
exit
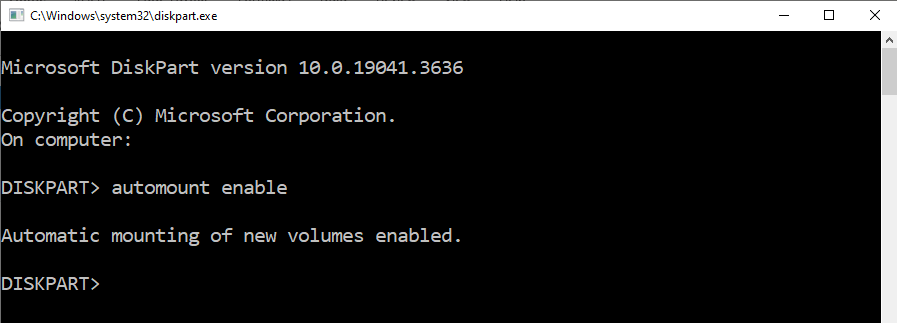
Reboot EC2 Instance after enabling disk automounting
8. Download Oracle Grid/ASM software
Download Software from Oracle from Oracle OTN, requires free OTN account
https://www.oracle.com/uk/database/technologies/oracle19c-windows-downloads.html
https://download.oracle.com/otn/nt/oracle19c/193000/WINDOWS.X64_193000_grid_home.zip
The compressed file WINDOWS.X64_193000_grid_home.zip is approximately 2.2Gb
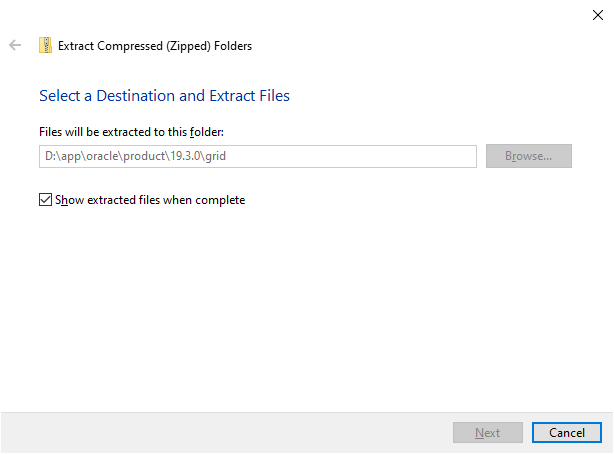
3. Extract Grid Software to new Grid Home
- 4.7Gb Required for the Grid Home
- This is a image based installation so the actual extracted files will be the new grid home.
- right click WINDOWS.X64_193000_grid_home.zip
- Extract All…
- Files will be extracted to this folder -> D:\app\oracle\product\19.3.0\grid
- Allow 30 Minutes for the extract to complete its over 20k files!
9. Run Installation pre-checks
runcluvfy.bat stage -pre hacfg
D:\app\oracle\product\19.3.0\grid\runcluvfy.bat stage -pre hacfg
This is an Optional check and there are bugs reported running it if it fails can try downloading latest version if you have support account from : Cluster Verification Utility – Download (oracle.com)
It failed for me to run with DNS error
PRVF-0002 : could not retrieve local node name
EC2AMAZ-H9ILJDC: DNS name not found [response code 3]
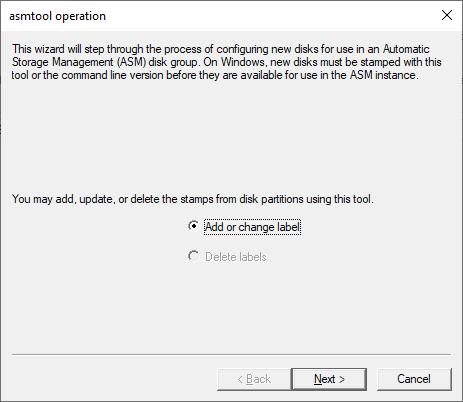
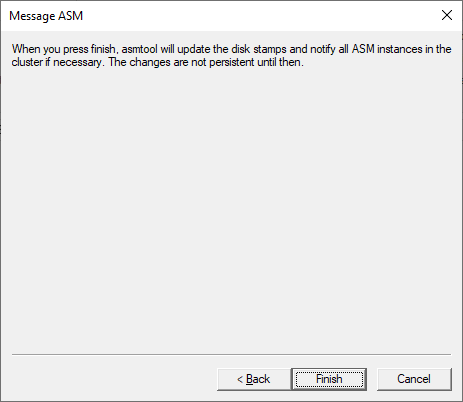
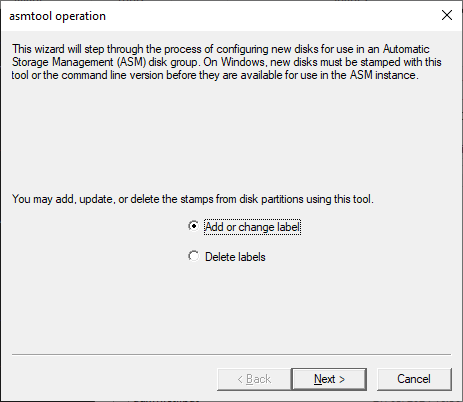
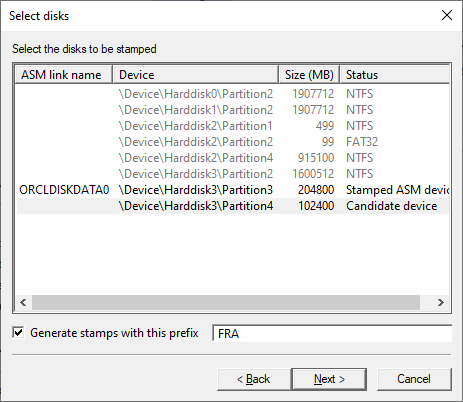
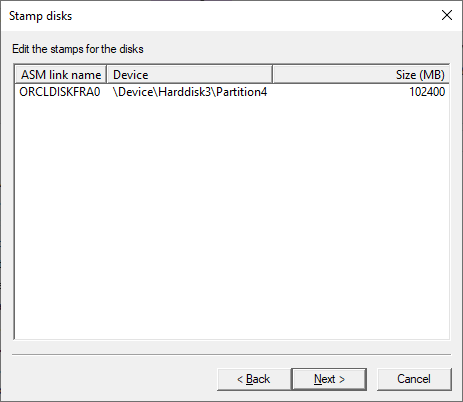
10. Label ASM disks
“asmtoolg tool is a graphical interface for creating device names. Use asmtoolg to add, change, delete, and examine the devices available for use in Oracle Automatic Storage Management”
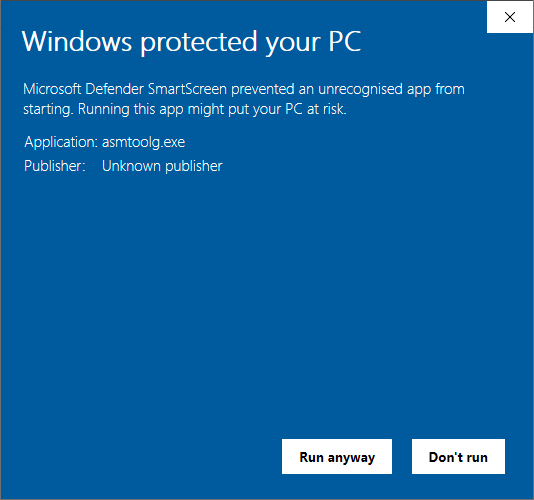
navigate to D:\app\oracle\product\19.3.0\grid\bin, right click asmtoolg.exe and run as administrator
(select more info, then Run anyway will appear)
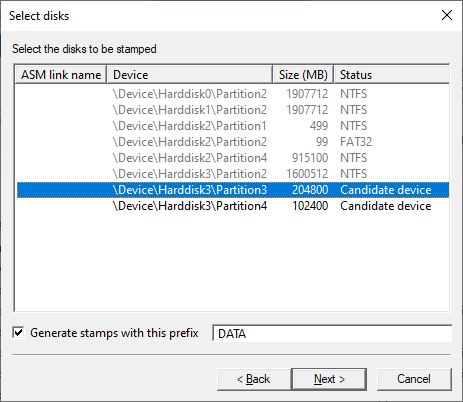

Repeat for FRA disk

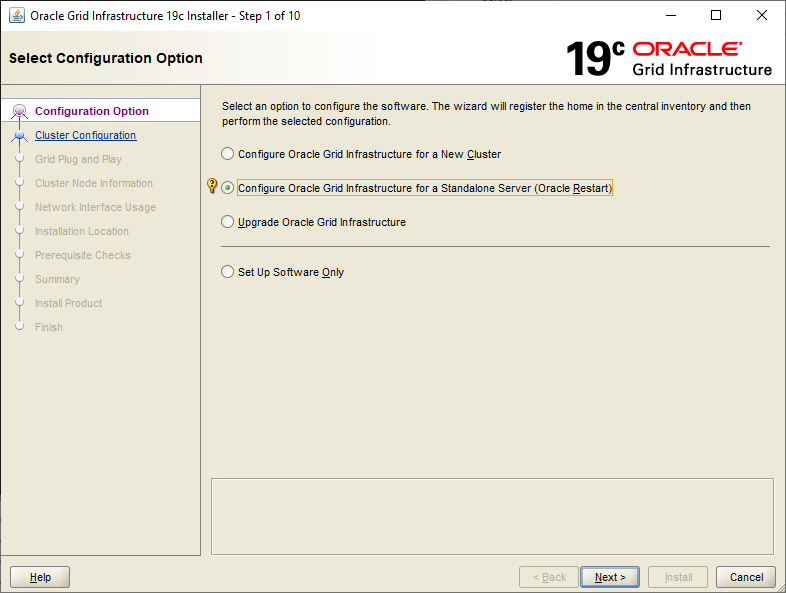
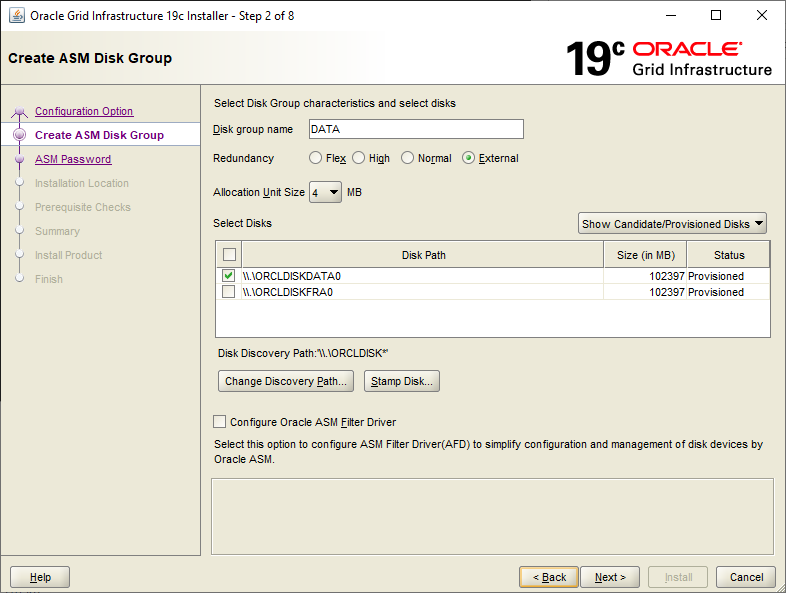
11. Install Grid/ASM software
open window to D:\app\oracle\product\19.3.0\grid, right click setup.exe and run as Administrator
Wait a minute for screen to present itself as below, it can appear to hang or empty.
Select DATA disk we stamped with asmtoolg earlier, Disks will be External Redundancy
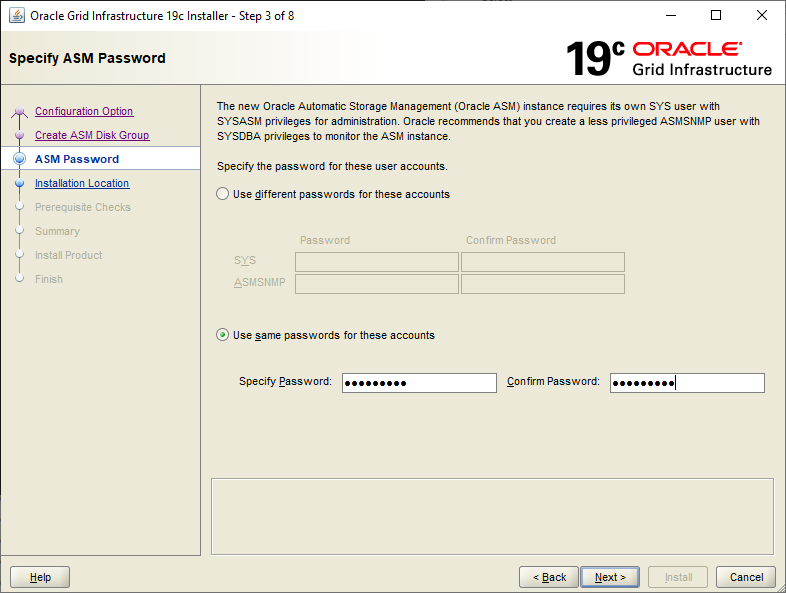
Use a common password for SYS and ASMSNMP unless separation of duties requires separate passwords.
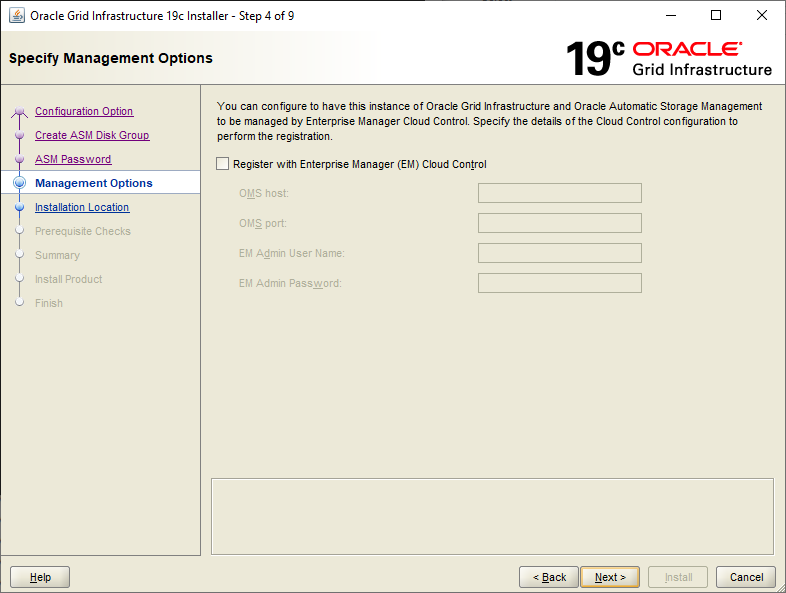
Optionally configure Oracle Enterprise Manager Cloud Control to monitor, ignore if not using
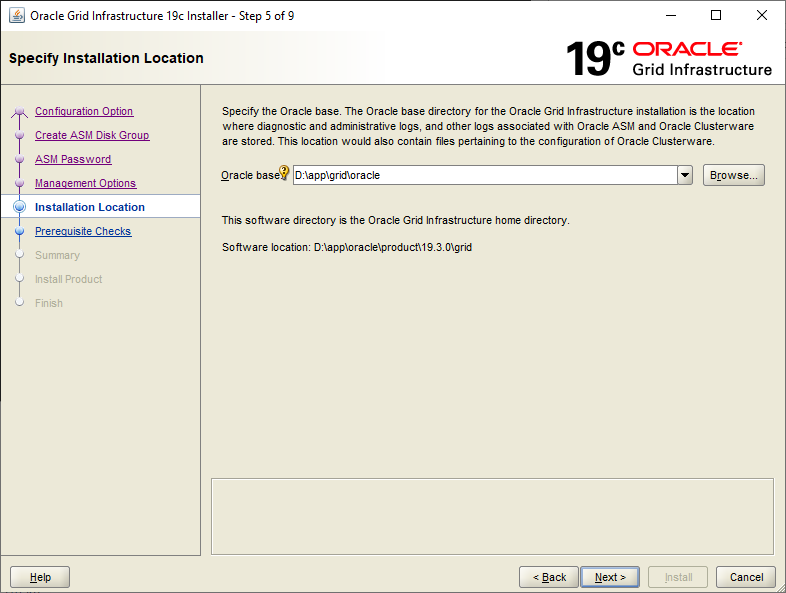
Enter Oracle Base location
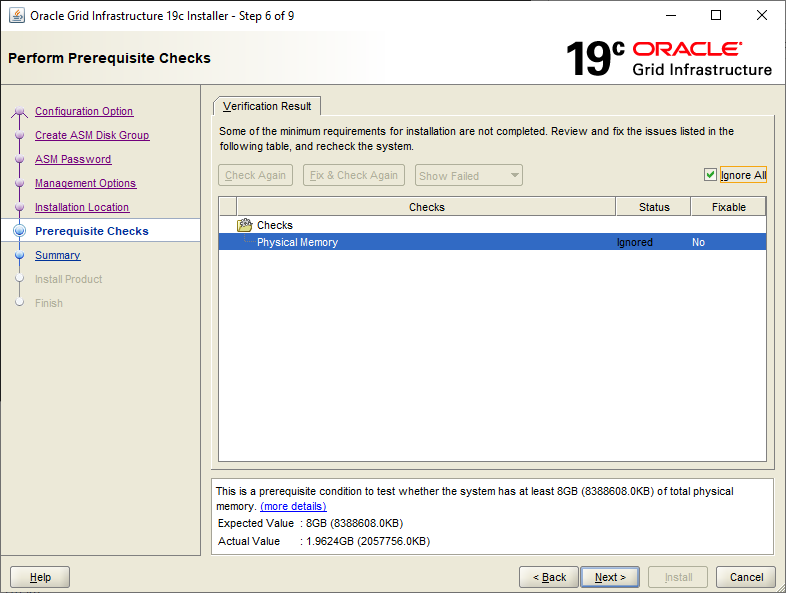
Pre check will run, review any failures, fix and retry or decided to ignore and continue.
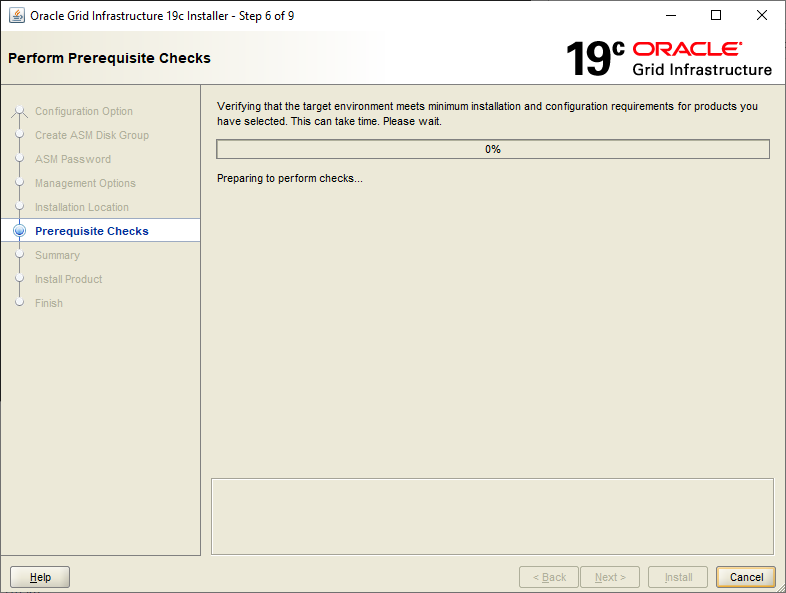
Pre checks for me expects 8GB of RAM my EC2 test only has 2GB so I’ve choose to ignore and continue.
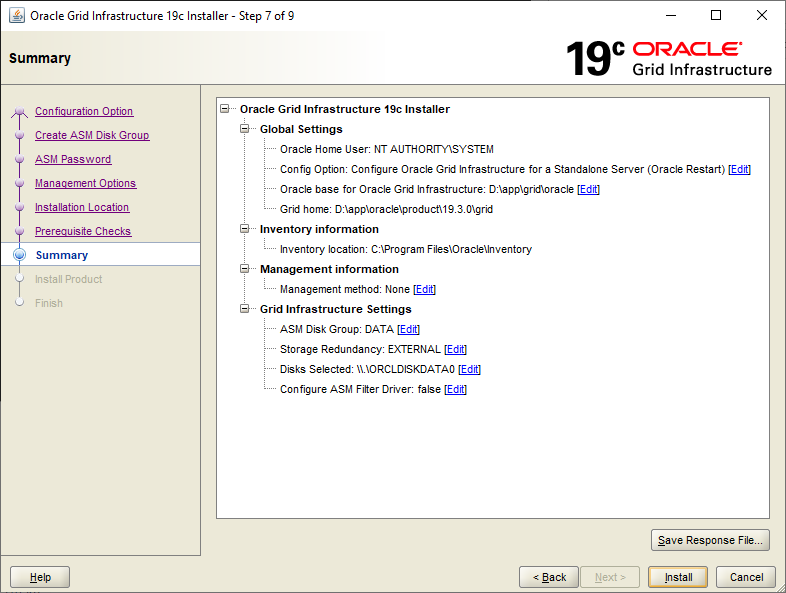
choose to save response file for reference (this is useful for reference and basis of future silent installs)
Allow 60 minutes for install to complete
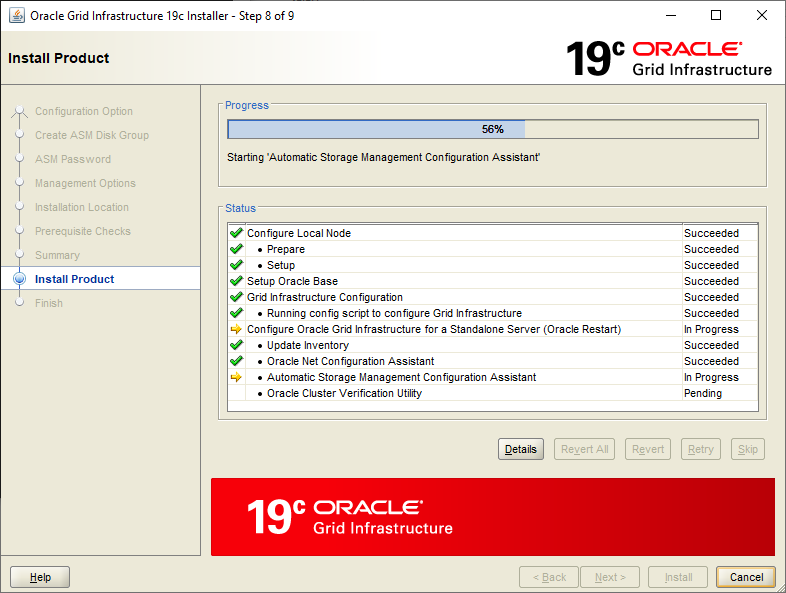
If prompted allow access

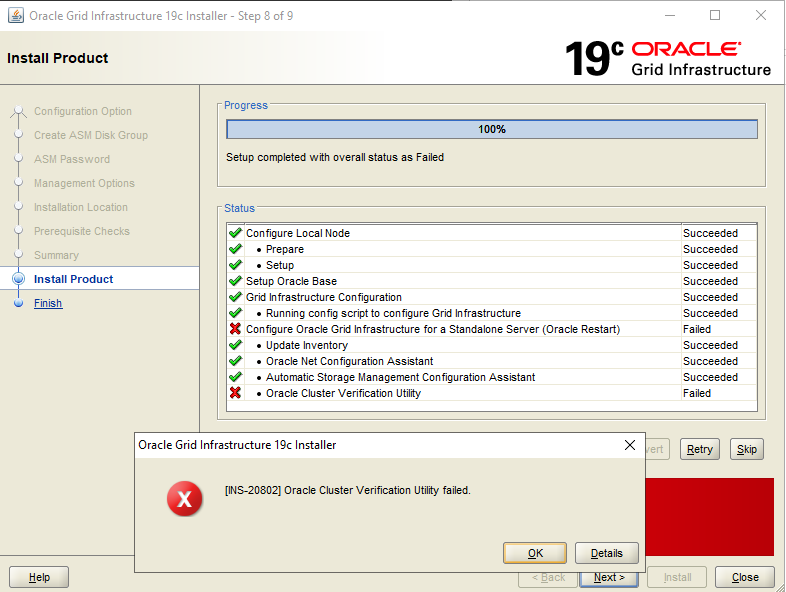
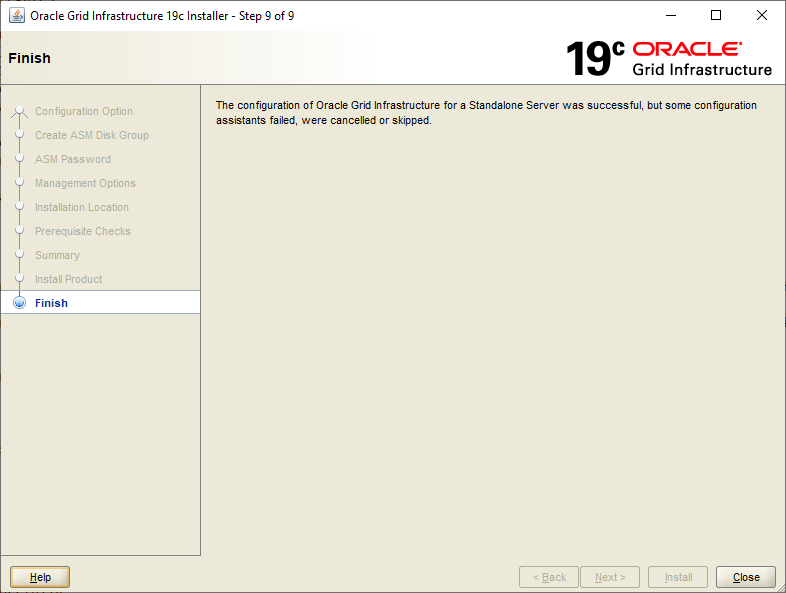
If there are any failure you can view the logs and retry steps or choose to skip, if you are sure they are non impacting. The last check on CVU can often flag non impacting issues, check details and review log.
If this failed earlier on Runcluvfy.bat Step 9 it will fail again here, but is the last check and the install is done, so review logs and choose to ignore or follow up.
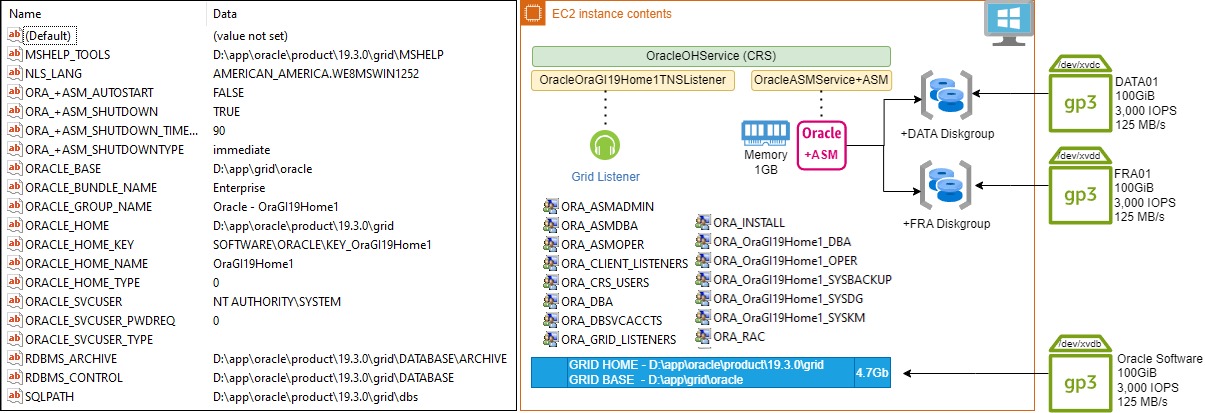
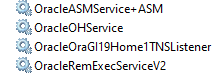
The install create several new Windows Services as below:
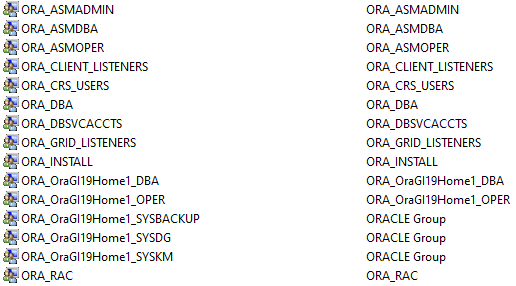
Several new groups are also created as below
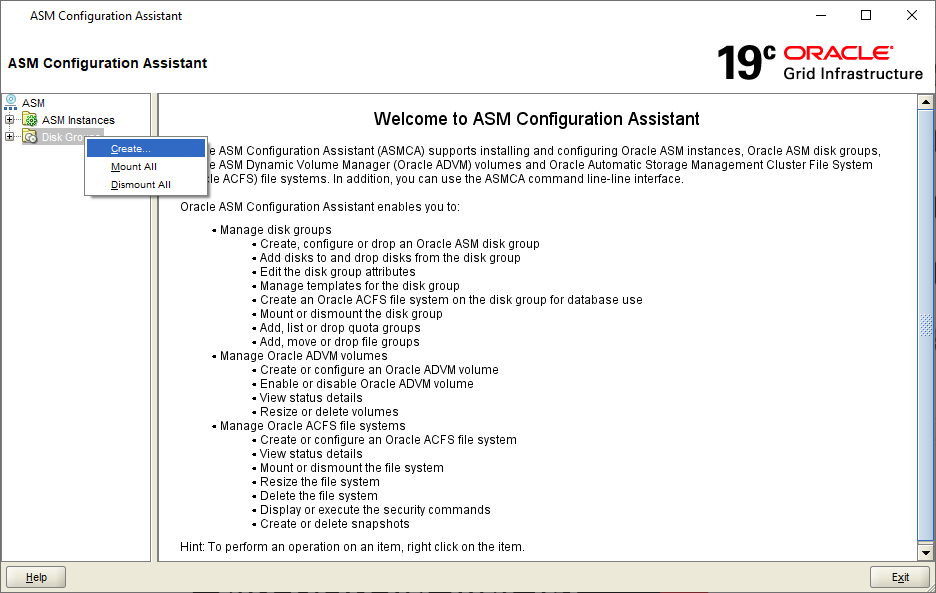
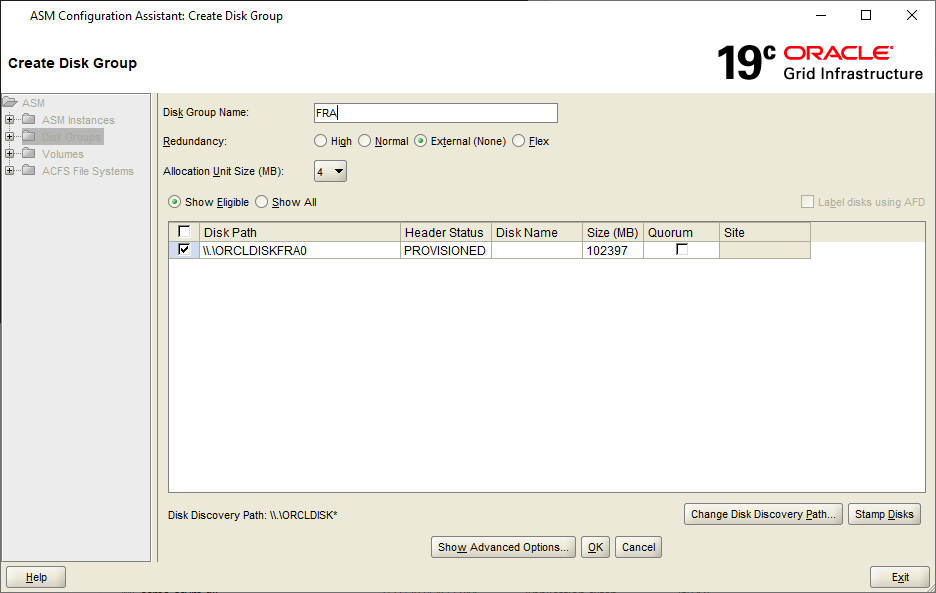
12. Add FRA Disk Group to ASM
Lets create a second disk group for the FRA
Window Menu -> Grid Home name-> Automatic Storage Management Configuration Assistant (ASMCA)
OR
D:\app\oracle\product\19.3.0\grid\bin\asmca.bat, right click and run as Administrator
Reboot EC2 now as depending in what order GRID was installed groups and permissions will have been updated and some tools need a restart like databases to be able to see the ASM disks. This all a good test that ASM services all start ok post reboot before using.
This completes the GRID/ASM install on Windows.